![OCI — Configuring Delegated Authentication [Part 3]](/images/blog/oci-unified-authentication-with-azure-identities-part-1/featured.png)
If you've followed Parts 1 and 2 of this series, user authentication for the OCI cloud portal is now handled by Azure via SAML SSO, and user identity objects in IDCS are being provisioned from Entra ID.
The steps below walk through preparing and configuring your OCI tenant for Delegated Authentication. Delegated Authentication is required by the Oracle Linux PAM module on OCI Linux systems to authenticate users against IDCS. OCI IDCS will cache account passwords from on-premises AD via the AD Bridge (there's no way around this), but Entra ID still remains the single source of identity since the accounts are synced.
This solution is not officially supported by Azure or OCI as it involves passing custom attributes only defined in the OCI API documentation. Proceed with caution — I am not responsible for any issues or errors that arise from this configuration.
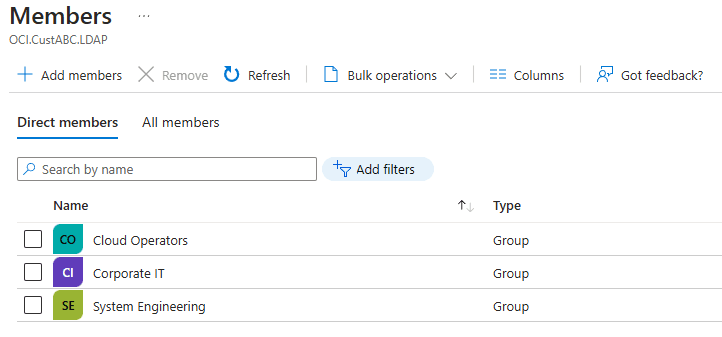
Create an LDAP Sync Group within AD
Due to the limitation of utilizing LDAP Filters to target groups, and the inability to target nested Entra ID groups for the Enterprise Application, a dedicated group will be created. (I'll explain further later on)
1. Create a new AD group
- Use a naming convention that signifies it's used for 'LDAP'
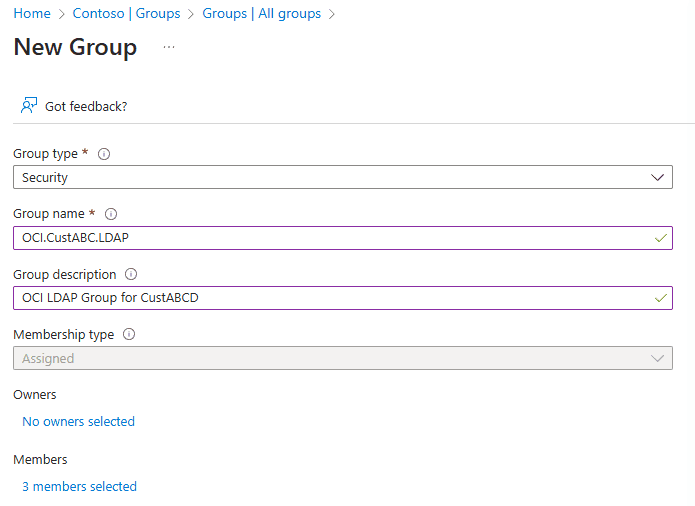
2. Add all users and groups that are assigned to the Entra Enterprise Application to this new LDAP AD group
- Going forward, any new groups added to the Entra Enterprise App must be added to this AD group as well to facilitate authentication via Linux PAM.
AD Bridge Sync VM
The OCI Linux PAM module relies on delegated authentication to service authentication requests between the Linux host and IDCS. IDCS relies on the OCI AD Bridge application to sync user objects between IDCS and the local AD domain. SAML SSO / Federated authentication can't be used here because IDCS needs to contain the user object password.
The OCI AD Bridge application can be installed anywhere on the source domain — however, a dedicated system is being created in this example to keep a segmented MSP support model.
-
Create a Windows VM — Azure is being used in this example
- Server Core is not currently supported with the OCI AD Bridge software
- For Azure sizing, a D2s SKU with Standard SSD is recommended initially, scalable to B2s SKU later for cost savings
-
Join the new VM to the local domain that will handle authentication requests.
-
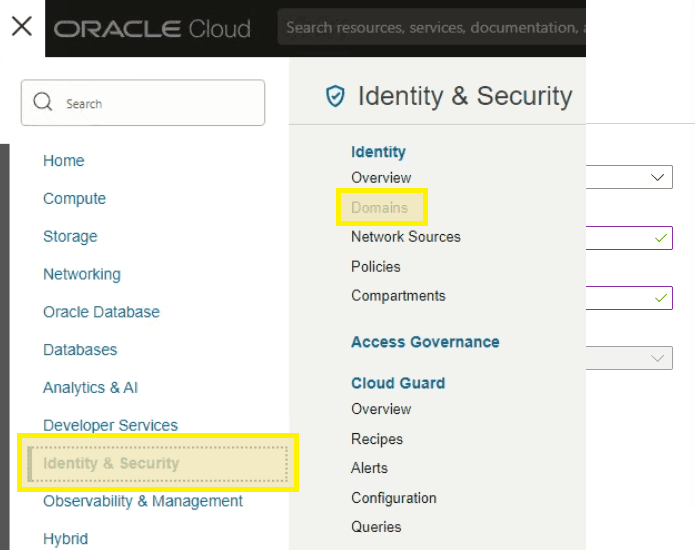
On this new VM, sign into the OCI tenant and select Domains from the top left menu
- Select your organization domain from the list in the root compartment
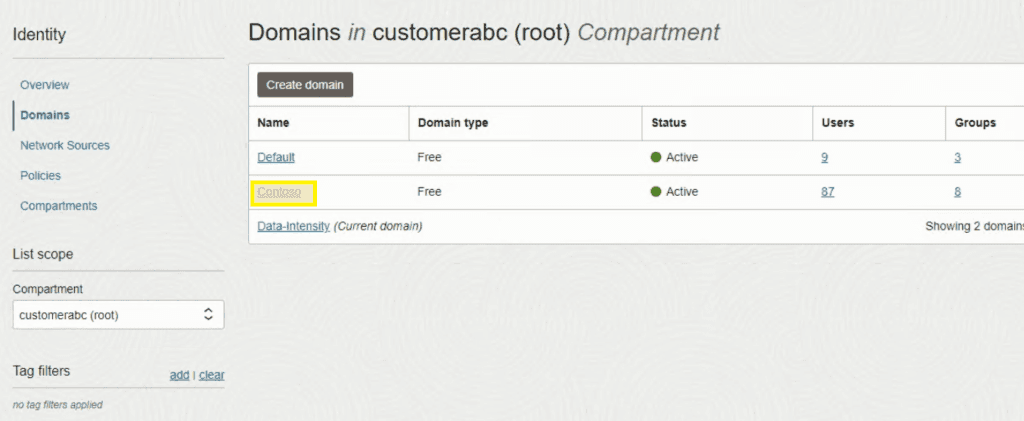
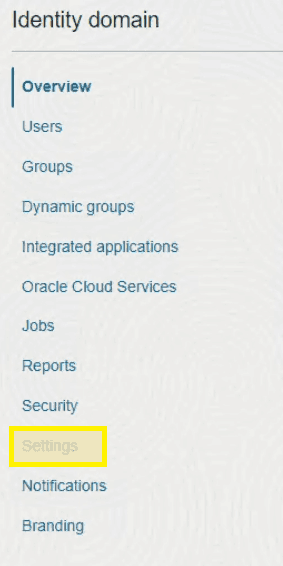
- Select Settings from the menu on the left
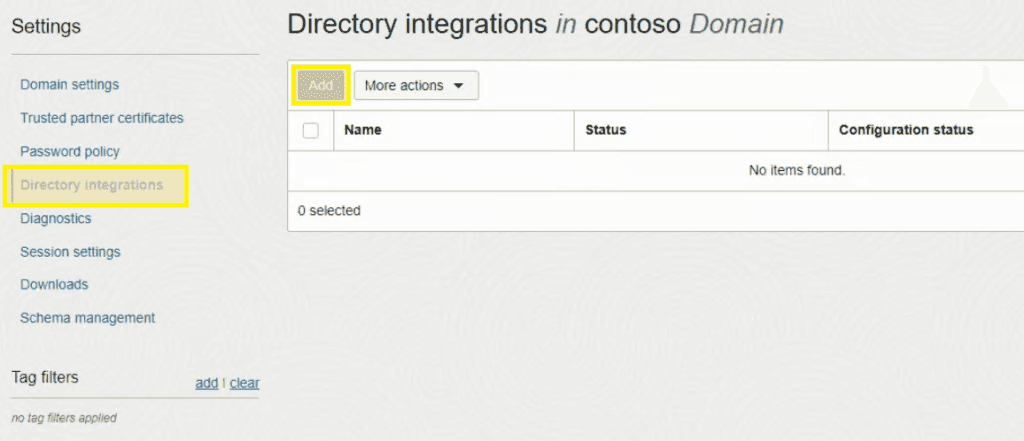
- Select Directory Integrations from the menu on the left and then Add
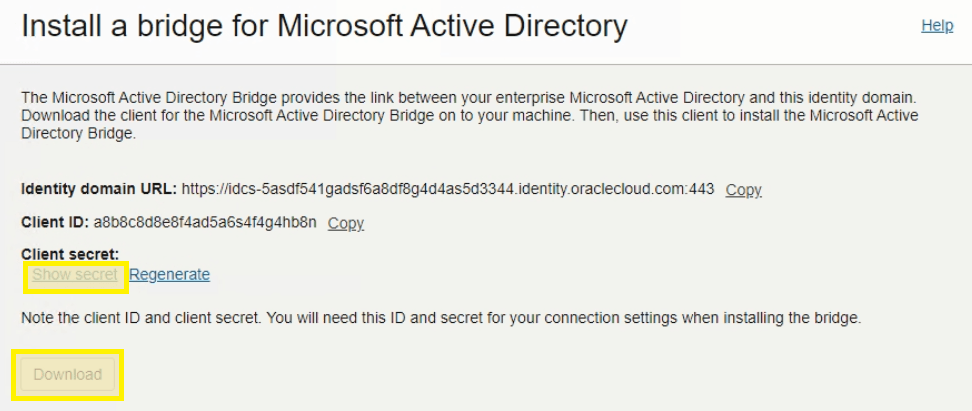
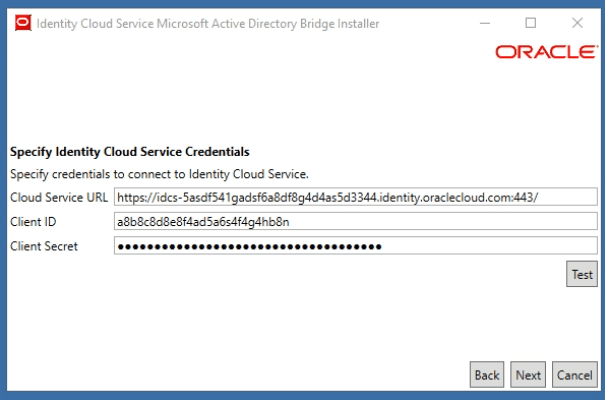
- Click Download and then copy the URL, ID, and Client Secret into notepad for future reference
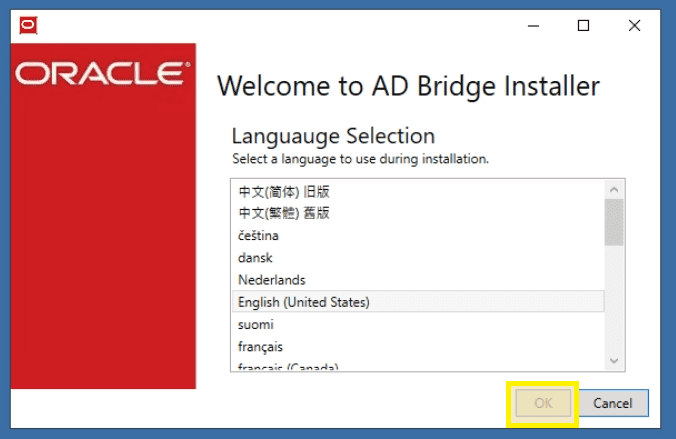
- Launch the AD Bridge executable file downloaded from the portal. Select your language and click OK
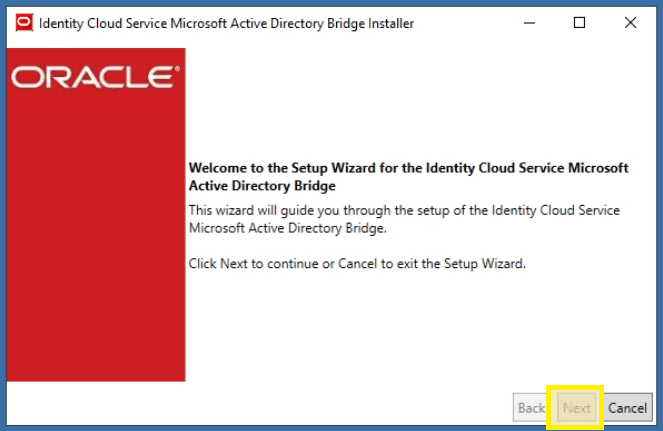
- Click Next
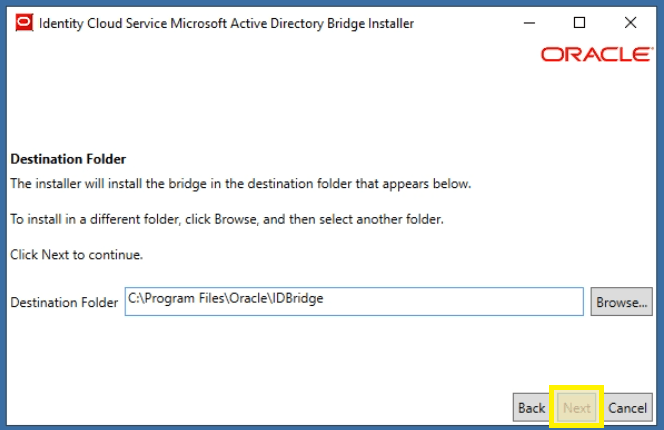
- Click Next with the default install path
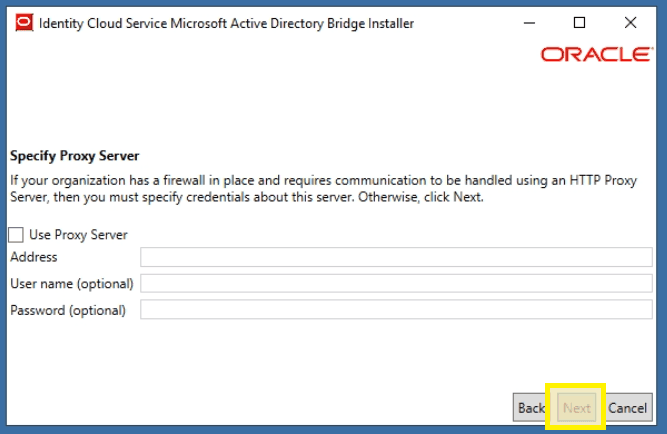
- Click Next to skip the proxy settings unless required by your organization
- Enter the URL, ID, and Client Secret which were copied to notepad previously and click Next
- Enter the credentials for a local AD service account and click Next
- This service account only needs READ access and is used to view the AD structure for LDAP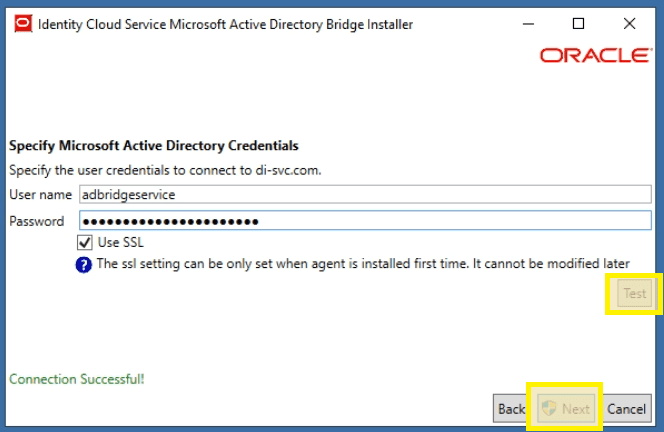
- Click Close once installation is complete and log off of the AD Sync VM.
Azure Attribute Configuration
The Linux PAM module on OCI systems uses SSSD to control user and group access. The goal is to display only configured groups and rely exclusively on AD group membership for access grants. Rather than modifying settings each time a user needs access, groups are the better target.
Both user and group objects need POSIX IDs that the PAM module can reference. By setting up custom attributes in Entra ID and syncing them to OCI, you can maintain consistent POSIX attributes across all customers and systems.
These instructions assume a custom attribute exists, has been assigned to all on-premises users/groups, and the Azure Connector application has been configured to sync these attributes from on-premises to Entra ID for both user and group entities.
This solution is not officially supported by Azure or OCI. Proceed with caution — I am not responsible for any issues or errors that arise from this configuration.
-
Enable advanced schema object editing by navigating to:
https://portal.azure.com/?Microsoft_AAD_Connect_Provisioning_forceSchemaEditorEnabled=true -
Open the Azure Enterprise App and select Provisioning from the menu
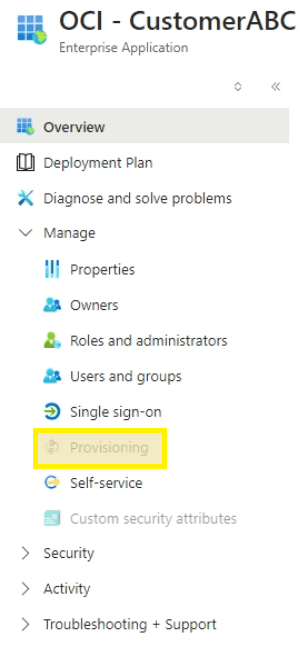
- Click Edit Attribute Mappings
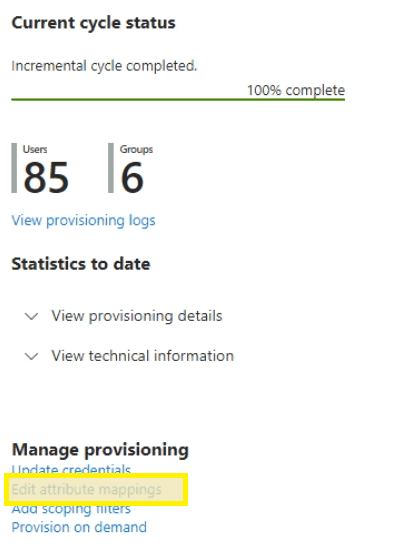
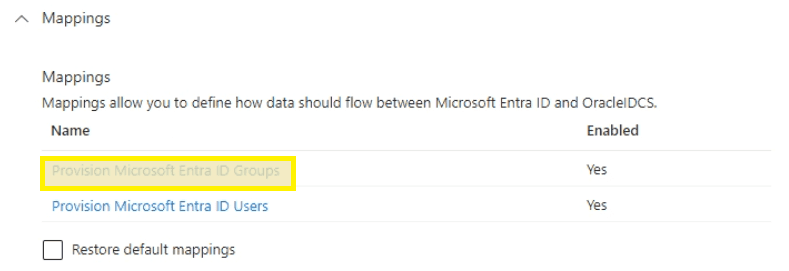
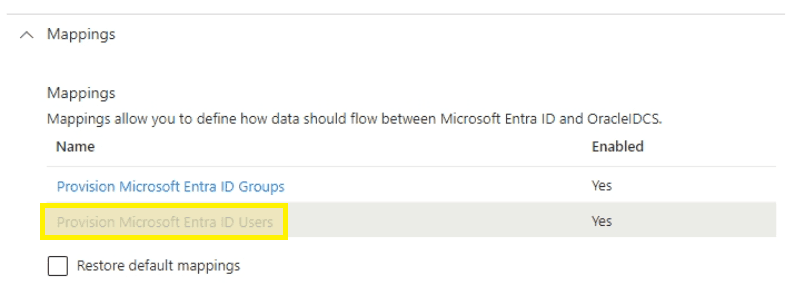
- Under mappings, select Microsoft Entra ID Groups
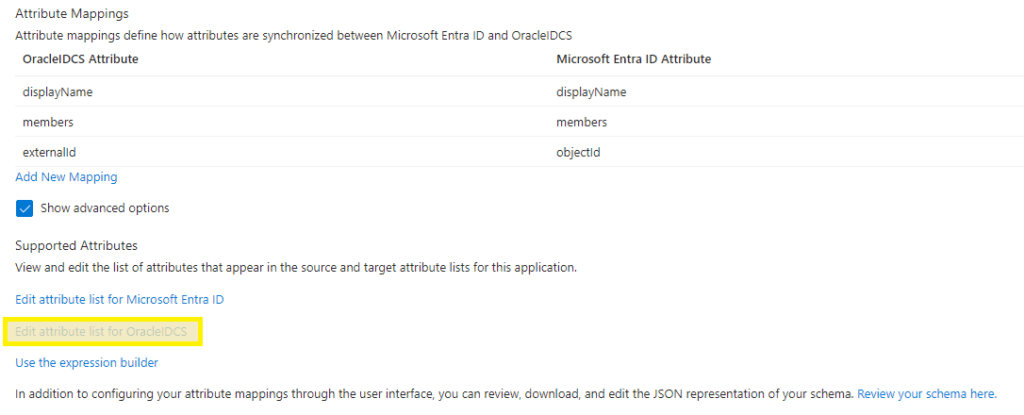
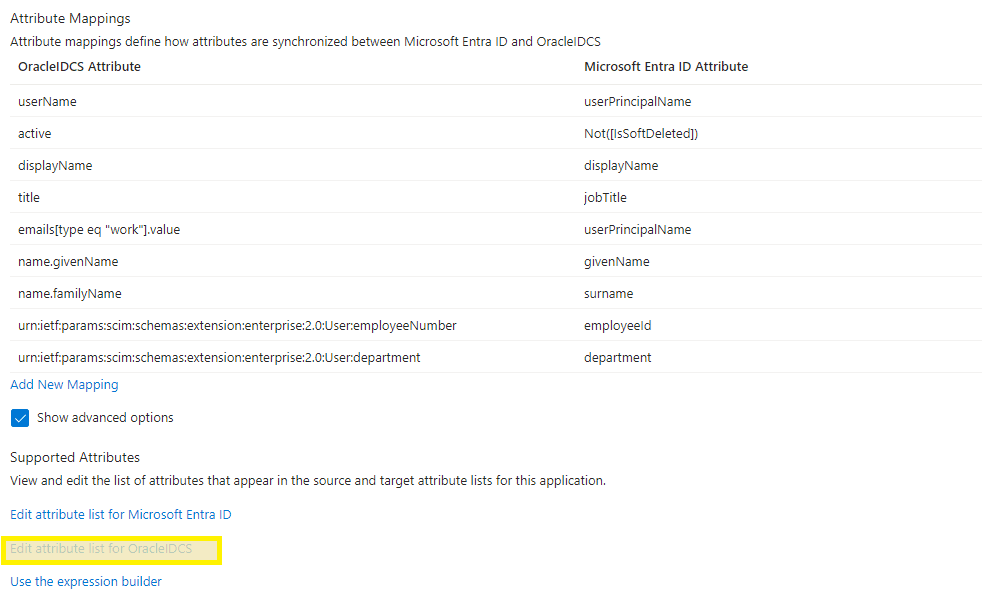
- Scroll to the bottom, check Show advanced options, and select Edit attribute list for Oracle IDCS
- Scroll to the bottom, add the gidNumber attribute as an Integer value and click Save
urn:ietf:params:scim:schemas:oracle:idcs:extension:posix:Group:gidNumber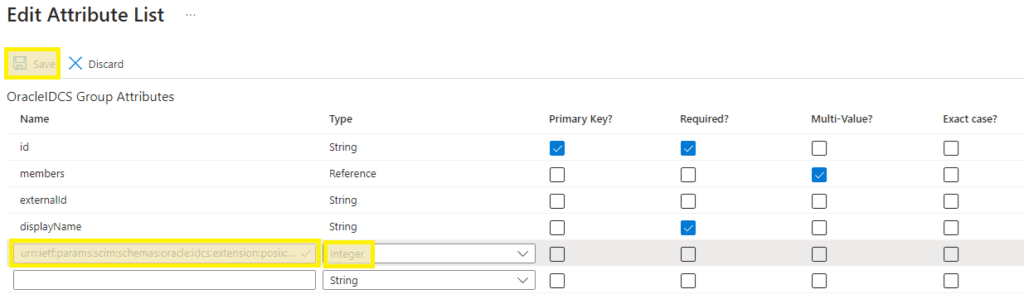
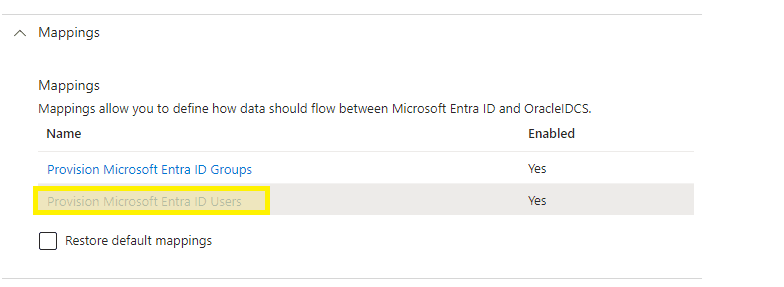
- Return to the provisioning page and select Provision Microsoft Entra ID Users
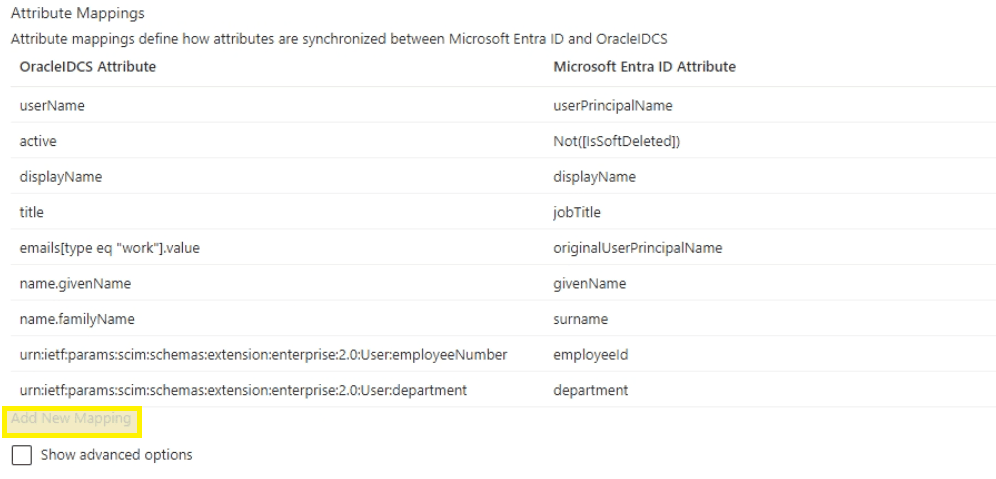
- Scroll to the bottom, check Show advanced options, and select Edit attribute list for OracleIDCS
- Scroll to the bottom, add the uidNumber attribute as an Integer value and click Save
urn:ietf:params:scim:schemas:oracle:idcs:extension:posix:User:uidNumber
- Return to the provisioning page and select Provision Microsoft Entra ID Groups again
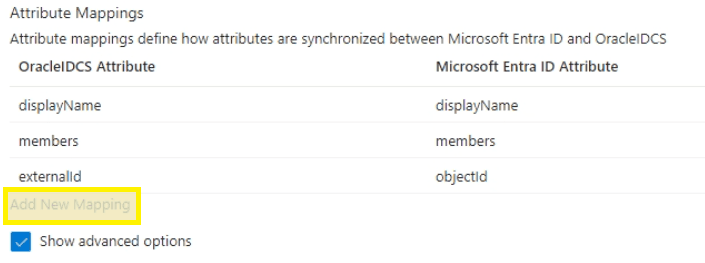
- Select Add New Mapping from the bottom of the group attribute page
- Select linuxGID as the Source attribute, the new Group:gidNumber as Target attribute, and click OK
- If gidNumber is unavailable, refresh the browser to reload the previously edited schema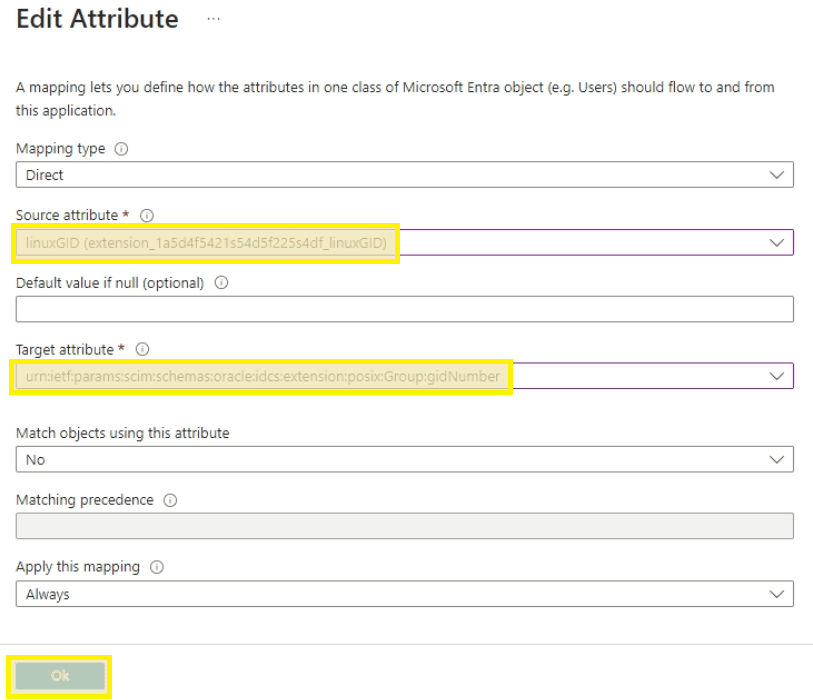
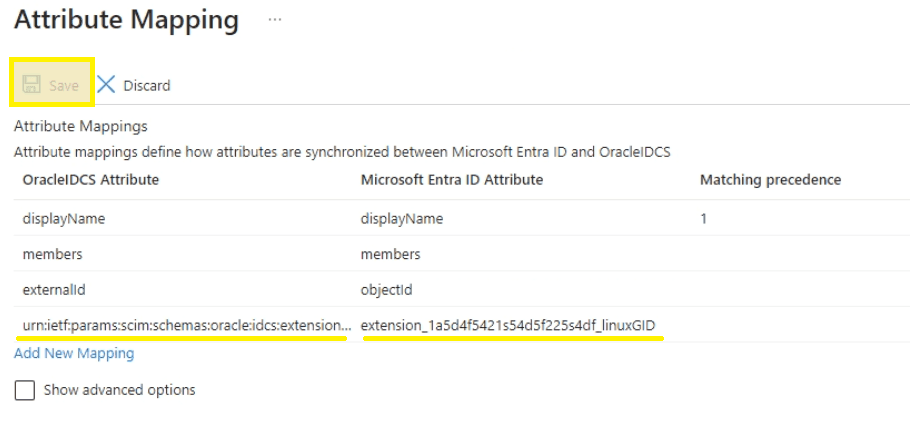
- Click Save at the top left if all attributes appear correct
- Return to the provisioning page and select Microsoft Entra ID Users
- Click Add New Mapping from the bottom of the page
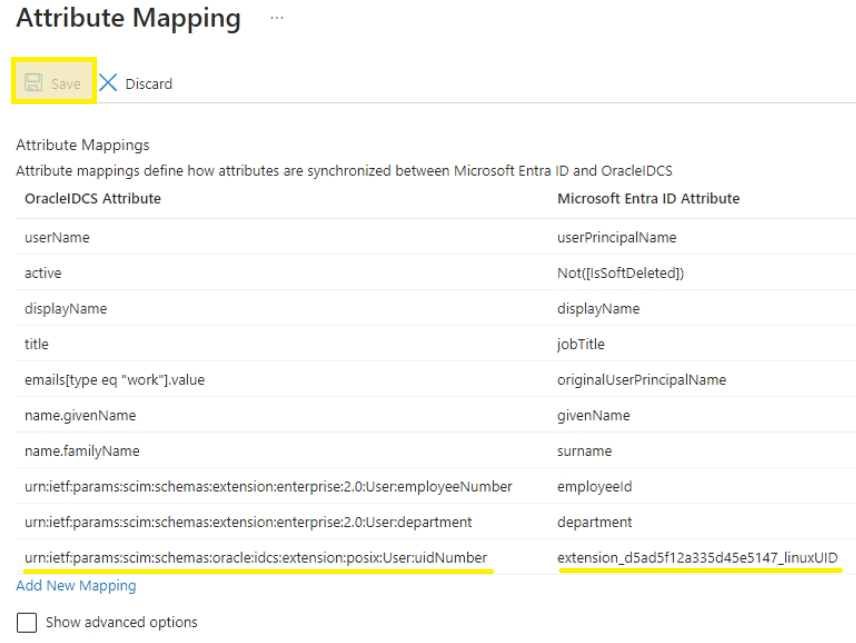
- Select linuxUID as the Source attribute, the new User:uidNumber as Target attribute, and click OK
- If uidNumber is unavailable, refresh the browser to reload the previously edited schema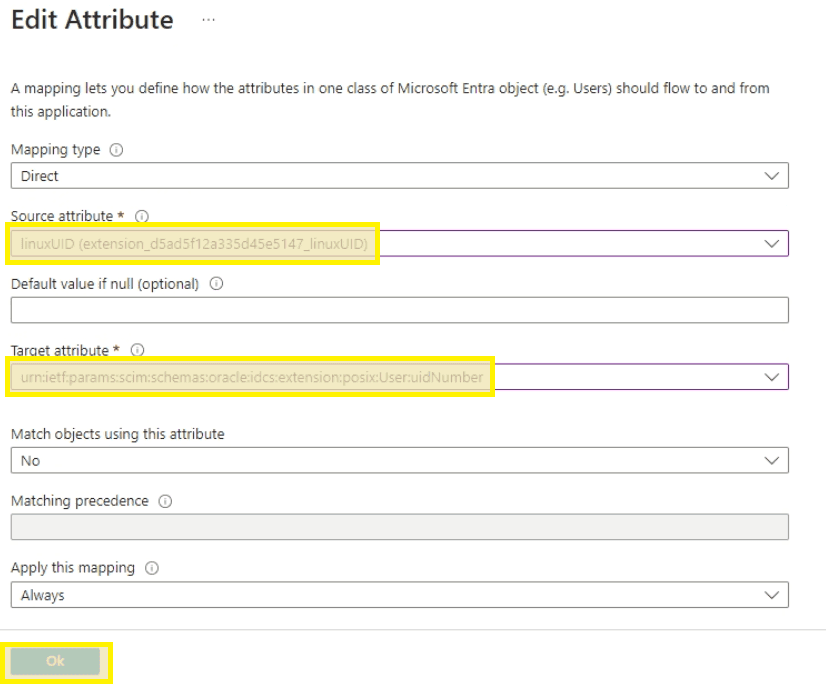
- Click Save at the top left if all attributes appear correct
Configure AD Bridge User Sync
Step 1: Access Directory Integrations
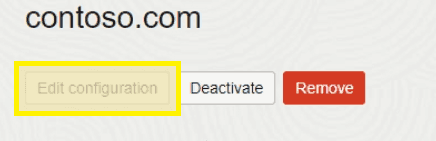
Return to the OCI Portal under domain settings and select Directory Integrations followed by your domain object.

Step 2: Edit Configuration
Click the Edit configuration button.
Step 3: Configure User Objects
For User objects:
- Uncheck "Include hierarchy"
- Drill down and check the OU containing your user account objects
- The selected OU contains AD User objects; the filter includes the parent LDAP group and path with recursion
The user filter uses the LDAP_MATCHING_RULE_IN_CHAIN OID (1.2.840.113556.1.4.1941) to recursively resolve nested group memberships — so if a user is in a group that's nested inside the LDAP sync group, they'll still be picked up.
Filter example:
(&(objectClass=person)(memberOf:1.2.840.113556.1.4.1941:=CN=OCI.CustABC.LDAP,OU=PAM,OU=OCI,OU=Security Groups,OU=Users,DC=contoso,DC=com))
Step 4: Configure Group Objects
For Group Objects:
- Uncheck "Include hierarchy"
- Drill down and check the OU containing your team group objects
- The selected OU contains AD Group objects; the filter targets direct members only (no recursive OID) since we want the specific groups assigned to the LDAP sync group
Filter example:
(&(objectCategory=group)(memberOf=CN=OCI.CustABC.LDAP,OU=PAM,OU=OCI,OU=Security Groups,OU=Users,DC=contoso,DC=com))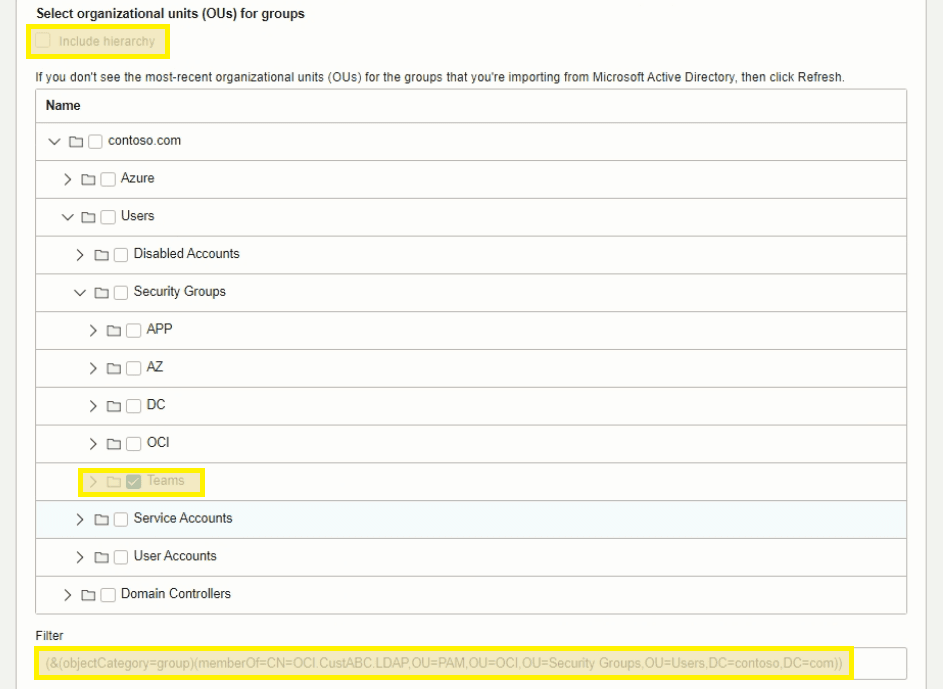
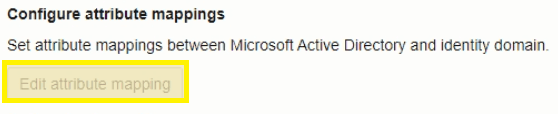
Step 5: Edit Attribute Mapping
Scroll down and click "Edit attribute mapping".
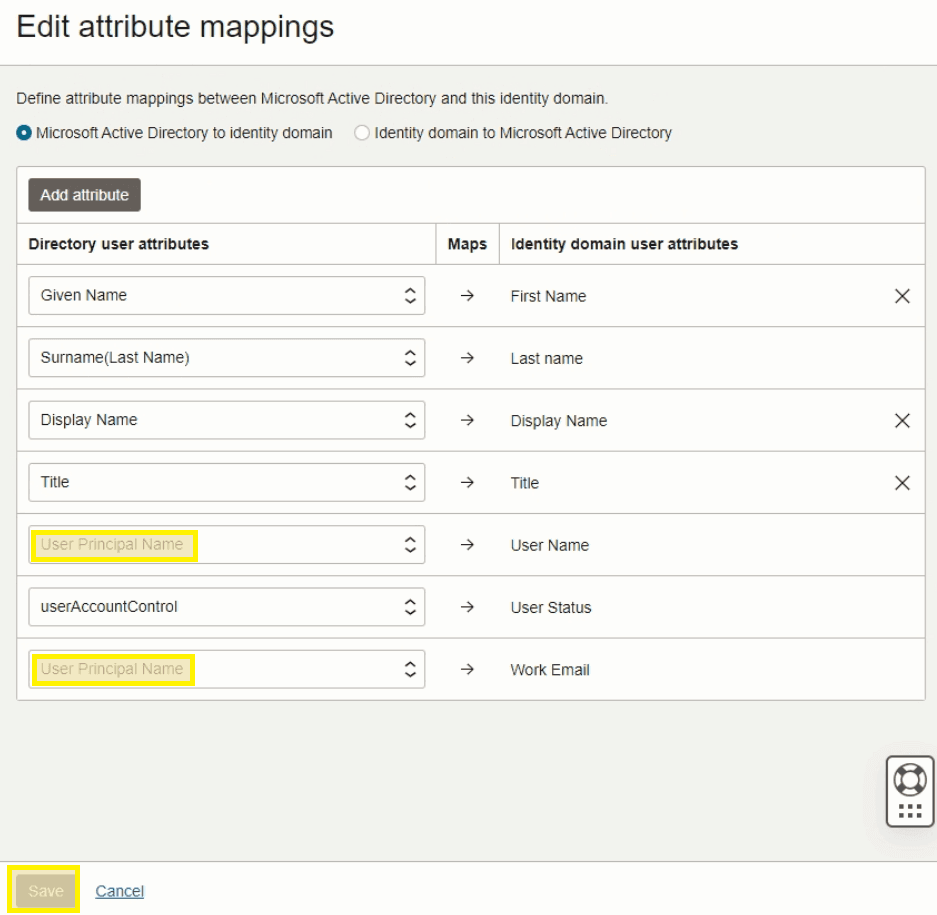
Step 6: Update Username and Email Fields
Update Username and Work Email fields to reference User Principal Name and click Save. Remove all other unneeded attributes except those shown below.
Step 7: Enable Local Authentication
Check "Enable local authentication" and disable welcome notifications. Click Save to complete.

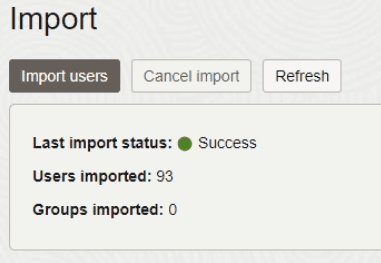
Step 8: Import Users
Select Import on the left and click "Import users". Click Refresh until the import completes successfully.
Enable Delegated Authentication
Up to this point, OCI was configured for Federated authentication only since SAML SSO to the web portal was the only auth happening. Now that the Linux PAM module needs IDCS for user credentials, Delegated Authentication has to be enabled.
To enable Delegated Authentication, the domain licensing type must be updated to Oracle Apps Premium at approximately $0.25/user/month.
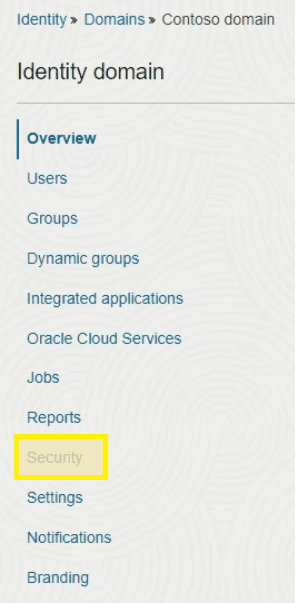
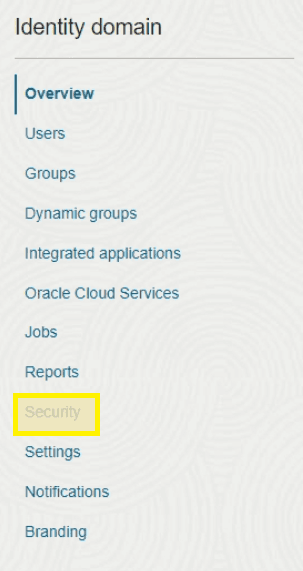
- Return to the OCI tenant domain and select Security
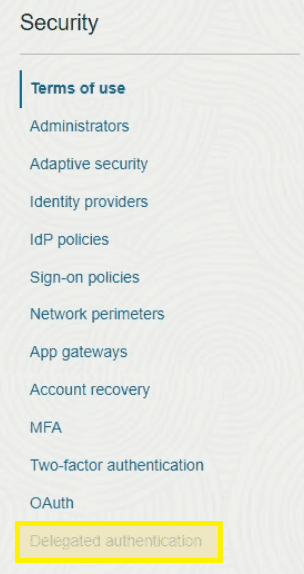
- Select Delegated authentication from the menu
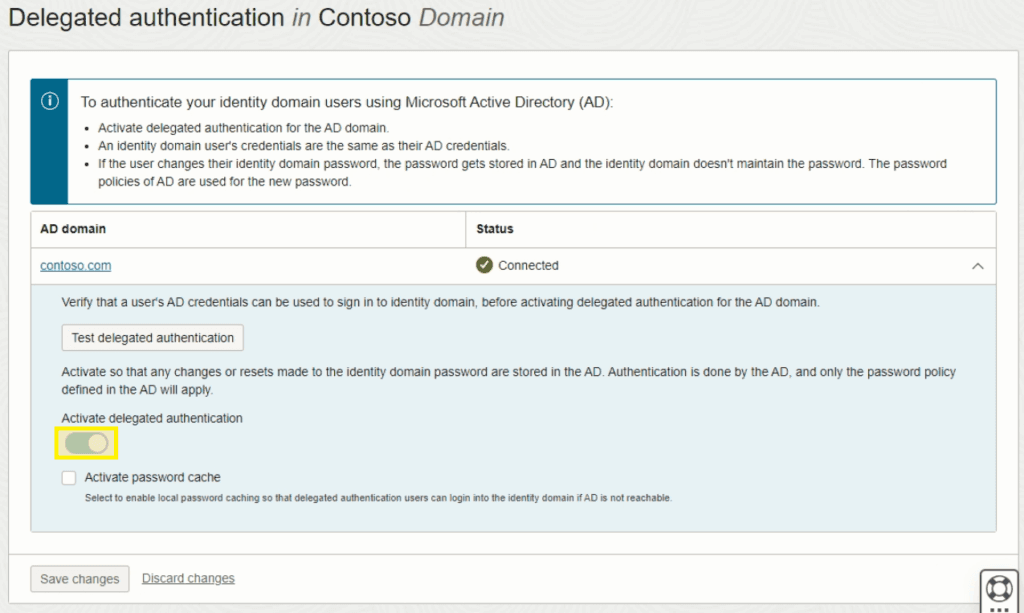
- Slide the marker to Activate delegated authentication and accept the warning prompt
Create Linux PAM Confidential Application
A Confidential Application in OCI functions as a service account — it's a gateway with credentials that let external resources interact with OCI objects. In this case, we're creating one with credentials that allow the Linux PAM module to access OCI IDCS and authenticate user accounts.
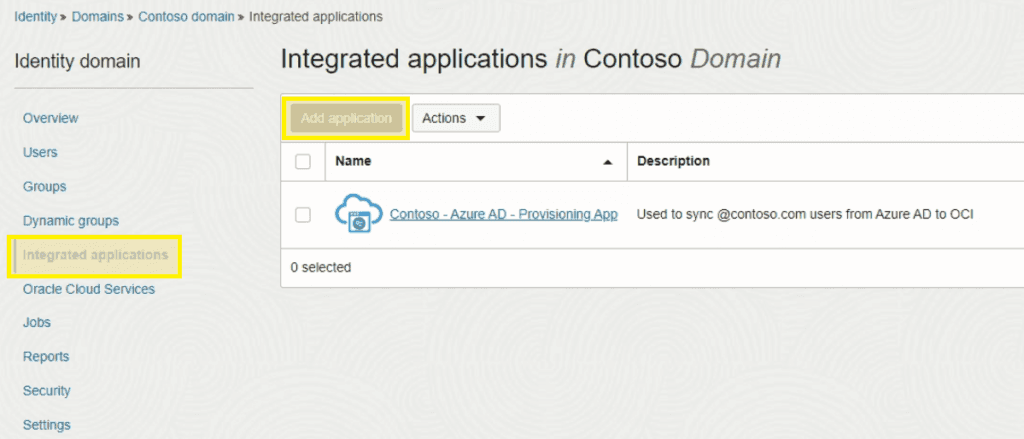
- On the domain Overview page in OCI, select Integrated applications on the left and then Add application
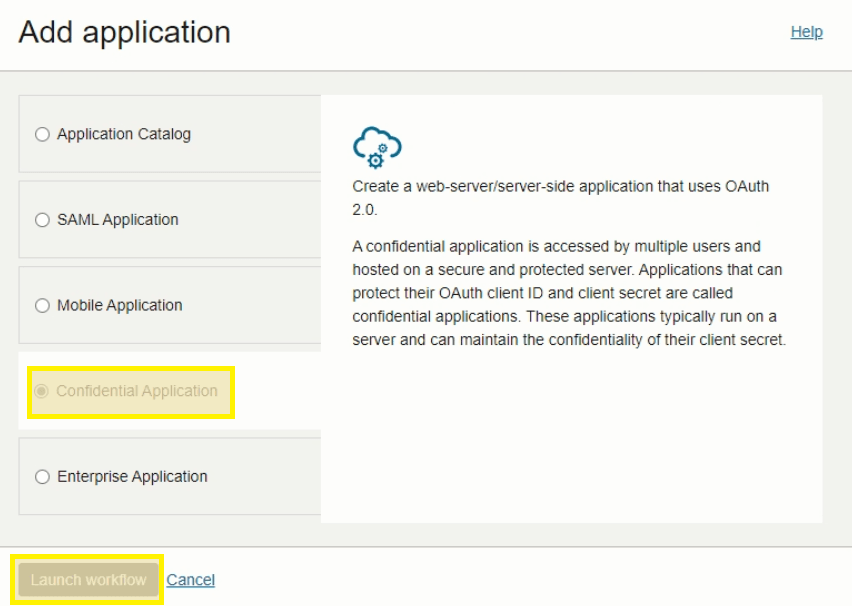
- Choose Confidential Application and then Launch workflow
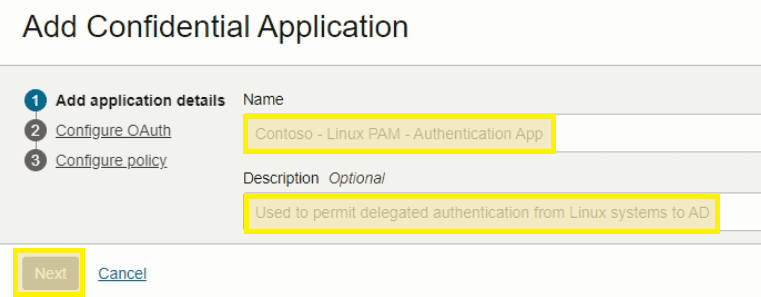
- Fill in the Name and Description fields and click Next
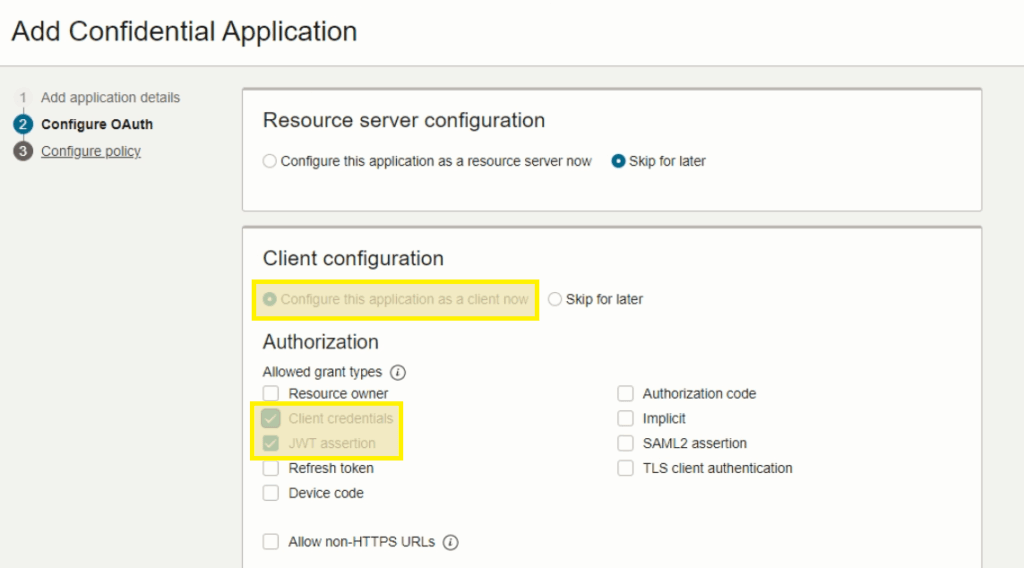
- Under Client Configuration, select Configure and check Client credentials and JWT assertion
-
Scroll down to the bottom and check Add app roles. Click Add roles with the below items and click Next
- Signin
- User Administrator
- Me
- Posix Viewer
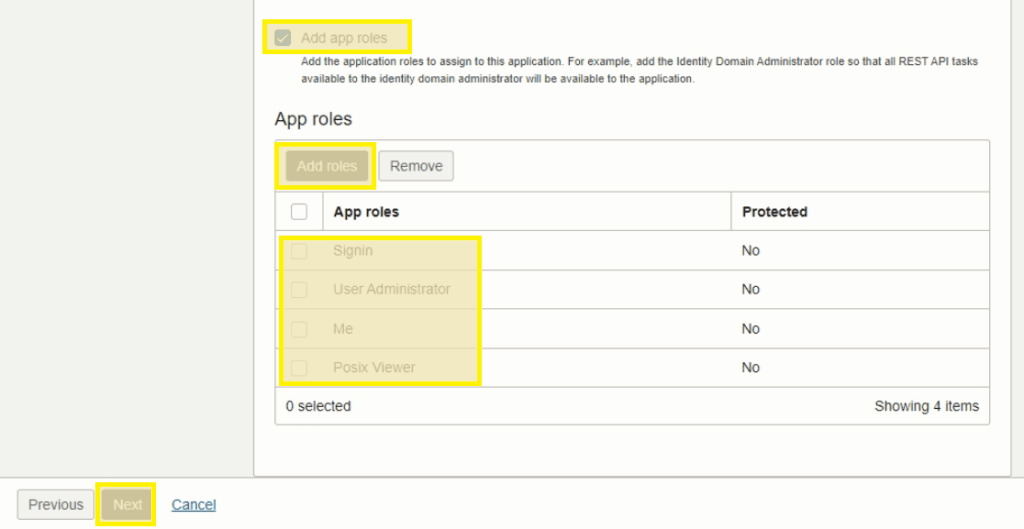
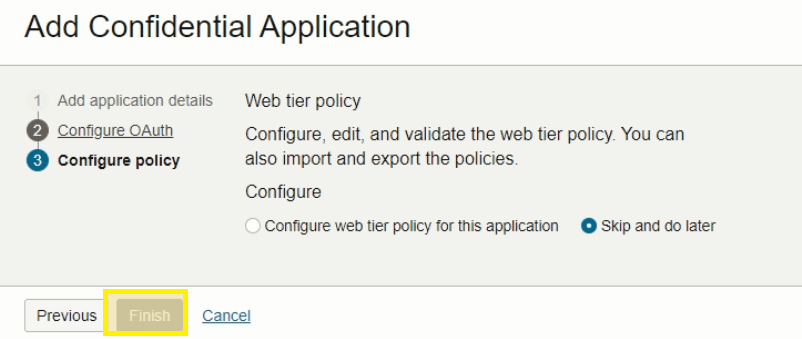
- Select Finish to complete
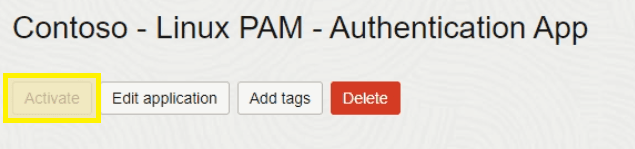
- Click Activate to enable the new application
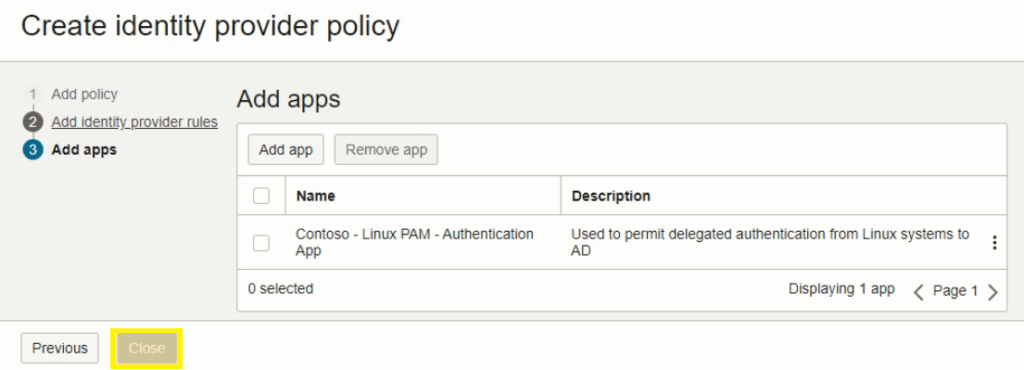
Enable Linux PAM Authentication
The current domain authentication settings only permit SAML SSO authentication since all user objects are being synced from AD. Because Linux PAM uses delegated authentication outside of the SAML SSO realm, a new policy needs to be created to allow authentication attempts from the module.
- On the domain Overview page, select Security from the left
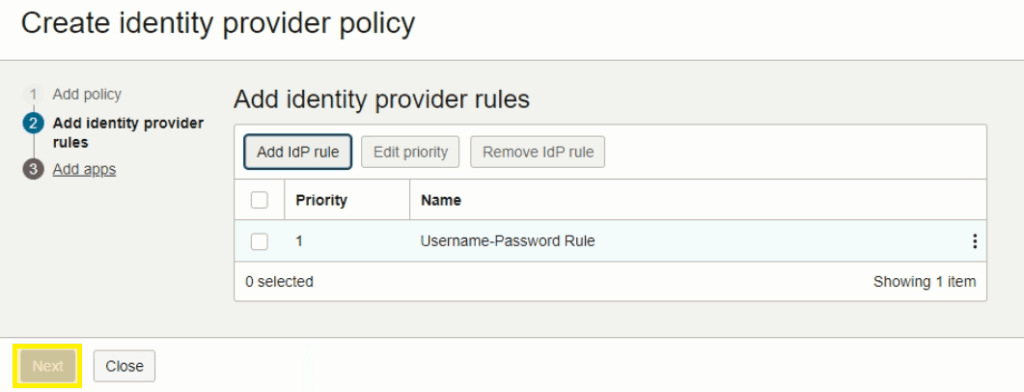
- Select Create IdP policy
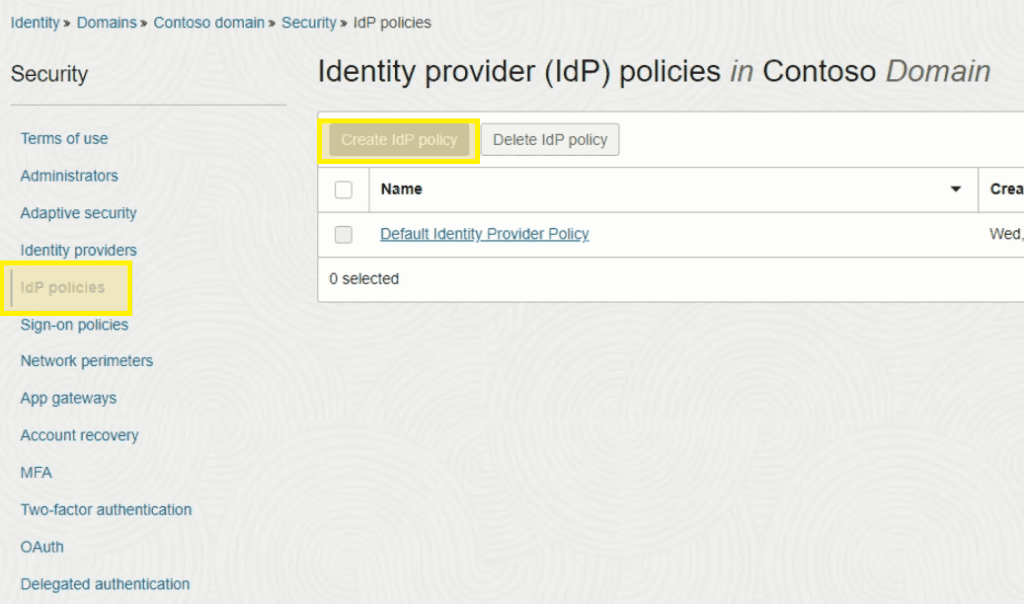
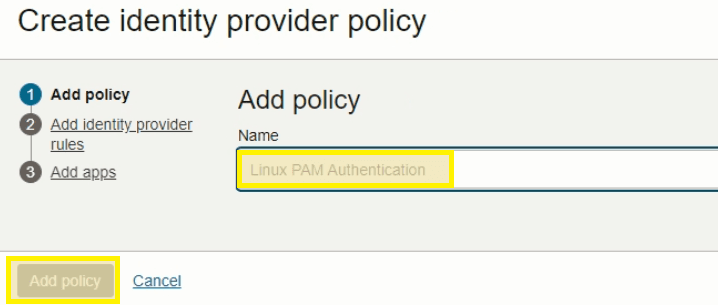
- Fill in the Name field and click Add policy
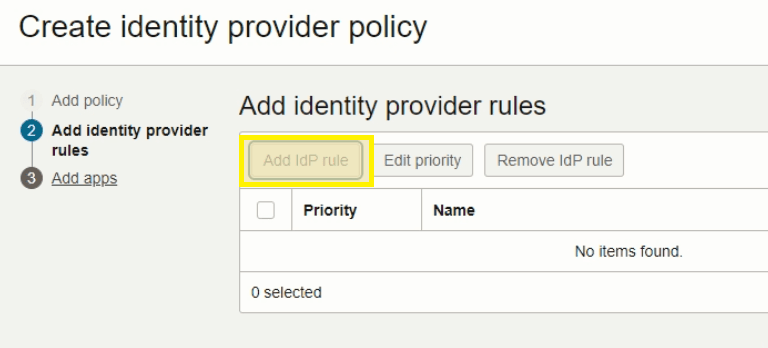
- Select Add IdP rule
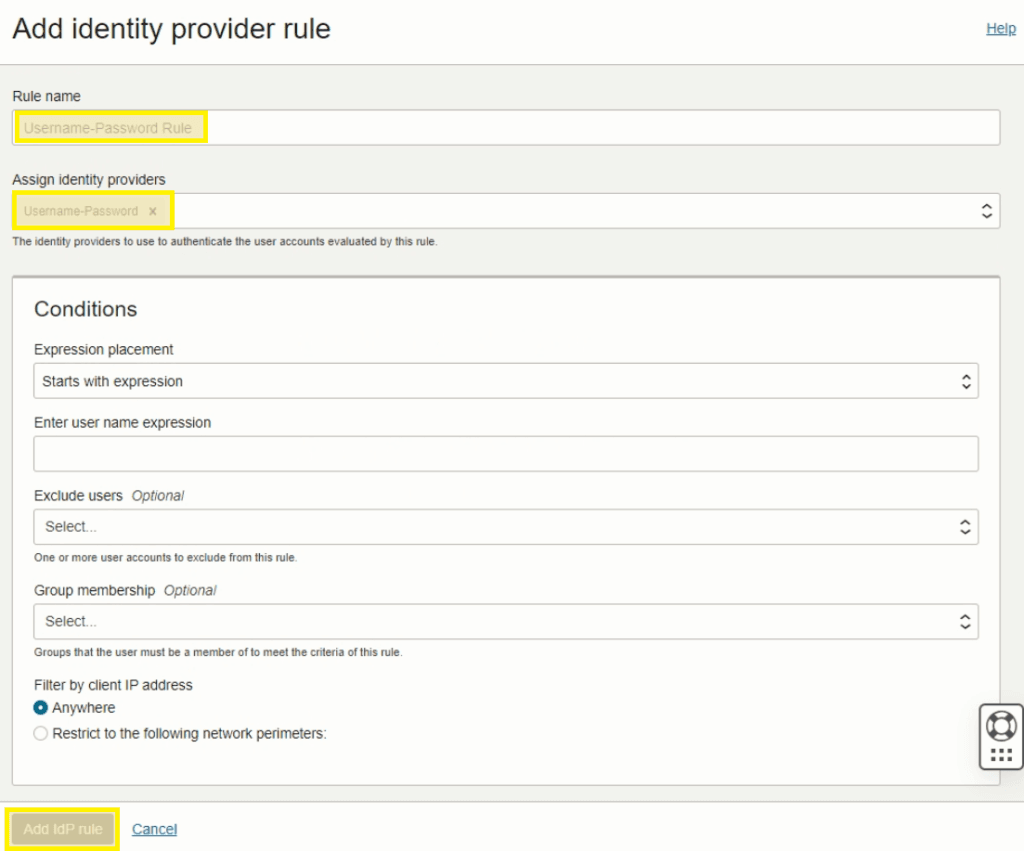
- Fill in the Rule Name field and select Username-Password in the Assign identity providers field and click Add IdP rule
- Click Next
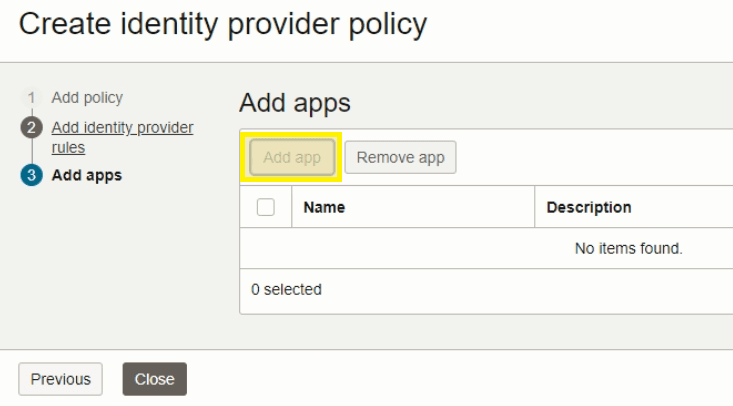
- Click on Add app
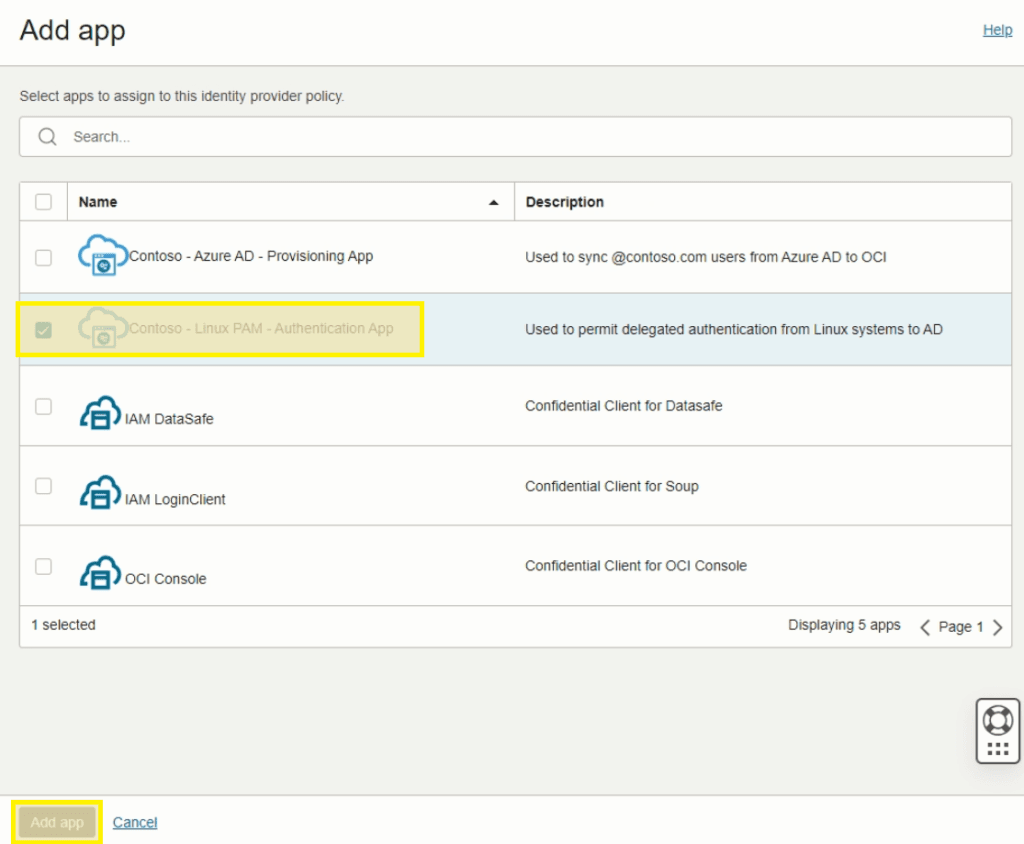
- Search and select the Linux PAM application created previously followed by Add app
- Click Close to complete